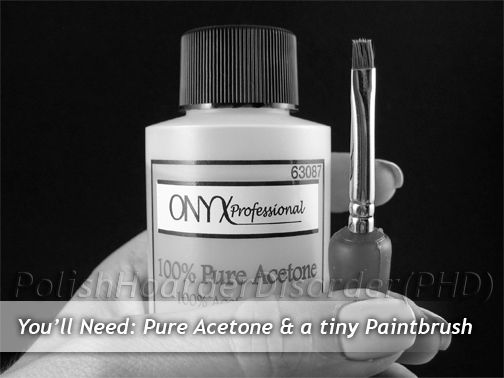
"The Clean-Up" is one of the best ways to make it look like you are a pro at painting your nails. This short tutorial will show you how to get that perfect manicure...
I've had a lot of practice painting my nails but sometimes, depending on the formula of the nail polish or how much coffee I had that morning (whoa! Shaky hands!), my manicure can still look sloppy. When I first saw a tutorial for cleaning up my cuticles, I thought, "Well, duh! Why didn't I think of that!?"... Now, I'm sharing what I have learned so we can all have perfectly painted nails together!
LET'S GET STARTED:


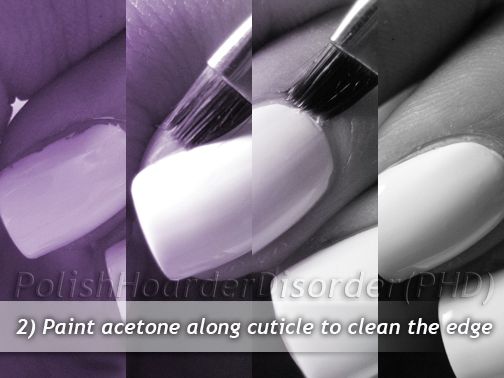
Now for the actual clean-up part... Dip your brush in acetone, lightly dab the excess liquid onto your paper towel (If you don't, that small amount of acetone will flood your cuticle and potentially ruin your manicure. Either that or REALLY dry out your skin. Trust me. Just dab!), and finally brush along your cuticle to clean off that runaway polish! You should frequently re-dip your brush in acetone and also wipe it on the paper towel to remove the nail polish that you just cleaned up. And that's it!
This will take some practice and getting used to but it is something that I think everyone should try! It takes very little effort and makes such a HUGE difference!
Yes, this is an excellent way of a perfect mani! I have been practicing painting my nails so long that sometimes I don't need to do this method. lol!! Thanks for sharing :)
ReplyDeletenailsbeautiqued.blogspot.com
Thanks for the tips!
ReplyDeleteFor me, i normally tear out small piece of cotton from cotton pad and roll it on dotting tools with smallest tips, dip it with acetone remover and clean the edges. :)
Im going to be buying some pure acetone for cleanups next time I go shopping.
ReplyDeleteGreat tutorial x
I try to do this, but have yet to find the perfect brush. Yours always look amazing :)
ReplyDeleteI will try it! I have the acetone already, I just need a brush.
ReplyDeleteThanks for sharing this great tip, what a clever idea! will try but am not as skilful as you! B
ReplyDeleteI just got a cheap-o brush from Michale's and that along with the acetone works like a charm!
ReplyDeletermcandlelight- Yah me too! I actually had to make my polish look sloppy ON PURPOSE for this tutorial :)
ReplyDeleteRachel- That's a good idea! I think you would really like the paintbrush technique too!
PaintAwayGirls- Thanks! Just wanted to help everyone out!
BabyD- Try a craft store. They usually have a large variety of brushes!
Faith J- You could try Rachel's way of clean-up since you don't have a brush. She wraps a bit of cotton pad around a dotting tool...
Blighty- It all takes practice! I'm much better than when I started blogging... I've learned so much from everyone. It's awesome to be able to share so many tips and tricks :)
Megan- Yep! It's like magic! I do cleanup for almost every manicure! Even when I don't necessarily need to! I just think it is fun! :)
Tnx for this post! I always have a hard time with clean up and though I have read similar tips I still prefer the basic way you illustrated everything. Makes me more positive someday I can get it right :)
ReplyDeleteI don't have a dotting tool either. It's okay, I can get a brush!
ReplyDeleteGigi- Your welcome! :) Don't worry. It just takes a while to get used to! Glad you found my tutorial easy to understand!
ReplyDeleteGracias desde Barcelona por el consejo, es genial!!
ReplyDeleteIt's true. It does make a difference. :)
ReplyDeleteI have been doing that for awhile now. I noticed the girls at the nail salon did that to clean up the skin after airbrushing the designs. It's way more practical ( and cheaper) then using those "corrector pens". I use a natural bristle nail brush which I purchased at micheals for $3. Totally worth the investment.
ReplyDeletethanks for the tips.. i'll try it next time. :)
ReplyDeleteI've never gotten the hang of the brush cleanup, I usually just paint very carefully, and then I use a pointed Q-tip and acetone for cleanup. :)
ReplyDeleteI'd like to see you post a video of this trick!
ReplyDelete